The complete cast stone installation guide to achieve the perfect finish.
To ensure your cast stone installation process goes smoothly, here a guide to all the details you’ll need to ensure success.
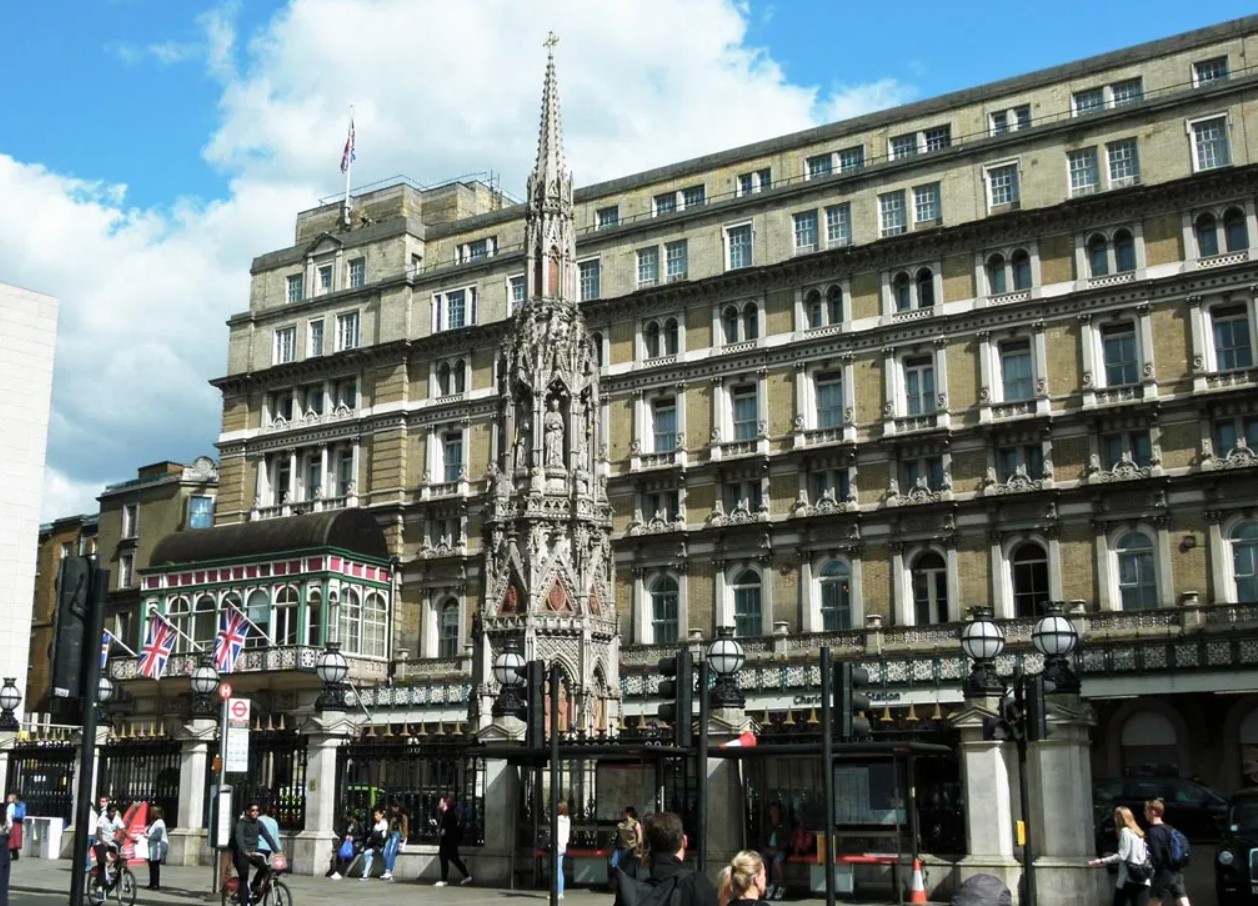
Being a versatile, robust and attractive material, cast stone is always the smart choice for a huge variety of construction projects.
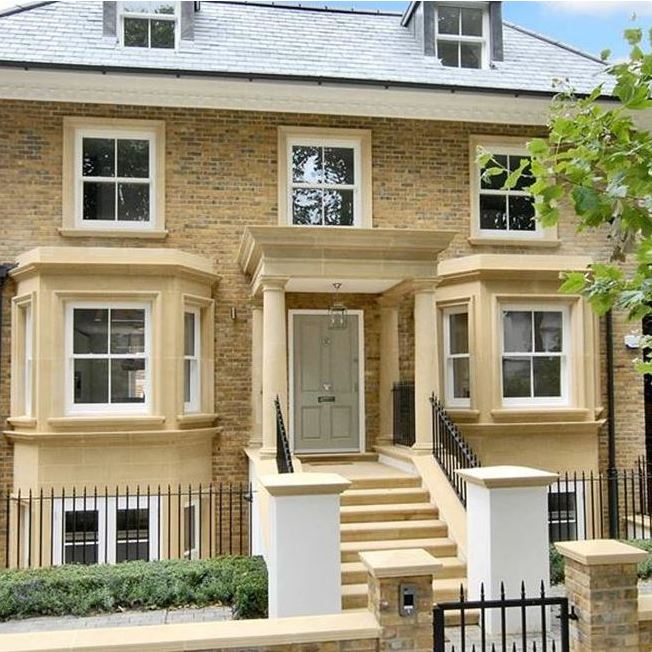
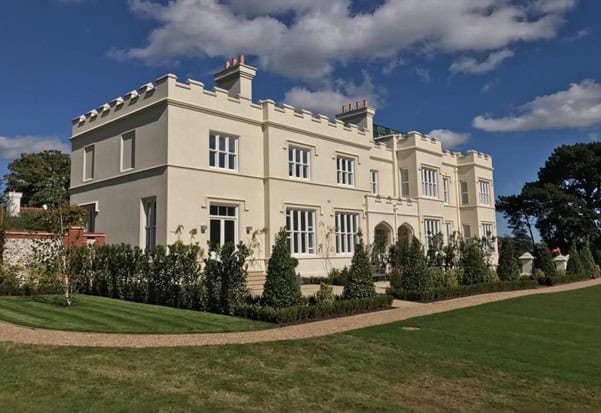
Cast stone adds wonderful detail when you’re renovating, converting or extending existing properties, and adds warmth and texture to new builds. From cast stone porticos and cast stone fountains, to cast stone pier caps and cast stone copings and window cills, cast stone adds an unmistakeable mark of quality to all kinds of projects.
Frequently used to replicate natural stone, cast stone units cost less than dressed natural stone. That said, replacing damaged units is an unnecessary cost which can be easily avoided.
So, all you need to do is follow a few simple cast stone installation steps:
Cast Stone Installation Guide
1. Cast stone delivery and unloading
Our cast stone units are normally delivered securely packaged on pallets. Wherever possible, you should move these palletised loads close to your working area, in an open and accessible space, and before any obstructions might be put in their way.
Pallets should be placed on firm, dry and even ground, and away from heavy traffic. Individual items should supported by suitable bearers placed one-quarter to one-third of the way in from each end.
2. Checking your cast stone
To inspect your cast stone items, remove the protective packaging and check those you can see. Any damage should be noted on the delivery note and reported to us. In terms of acceptable condition of your cast stone, in its independent cast stone installation details, the United Kingdom Cast Stone Association (UKCSA) states that:
- Chips, scuffs, blemishes and hairline cracks aren’t obvious under direct daylight from a distance of 6m. So take a good look.
- Small variations in colour can result from the manufacturing process, the age of the cast stone unit, or due to water content. Colour variation should therefore not be a cause for rejection.
3. Opening and storing cast stone
It’s a good idea to use a knife rather than a shovel or similar tool that could damage the cast stone. Even with a knife, take care to avoid damaging the surface of the cast stone.
Similarly, avoid stacking anything on top of the cast stone pallets, and never stand on individual cast stone units or pallets of cast stone, or use them as a workbench.
4. Handling cast stone on site
Cast stone units are often heavy, so you should always handle them in line with Health & Safety requirements for load-lifting. You should also conduct a manual-handling risk assessment. We have found it’s always best practice to:
- Use suitable plant to move cast stone units around your site to avoid dropping the product. Shock loading can cause damage to cast stone, so this should always be avoided.
- Avoid sliding individual cast stone units across surfaces, or across each other.
- Take care when lifting cast stone units from one end, so as not to damage the far end.
Remember, cast stone units are often stronger on one plane than another. This means that units delivered in one orientation should not be laid down or lifted in an orientation other than that in which they were delivered, and in which they are to be installed.
5. Cast stone joints
It’s a good idea to treat cast stone as you would natural stone. During hot, dry weather, you should dampen the cast stone faces to be jointed with clean water. This prevents the cast stone from drawing too much water from the mortar, which can result in poorly cured and weakened joint. Cast stone is designed to be fixed with joints of 5-10mm between each unit. To help support heavy units, you can use plastic spacers until the mortar has cured.
Another good tip is to use bracing to avoid freshly assembled materials being damaged. We also recommend that the height and number of courses constructed in a single day be limited. Typically, this should be no more than 1.2m per day.
6. Cast stone mortar
To avoid the cracks which can occur in the cast stone and mortar (due to differential movement) it is essential to use the correct grade of mortar when installing cast stone units.
You can find out more about the recommended grades of mortar on page 30 of the UKCSA ‘Technical Manual for Cast Stone’.
All cast stone units should be laid and adjusted into their final position while the mortar is still pliable. Ordinary construction mortar should be used only to 10mm from the face, when the mortar you’ll need to use will be the pointing mortar specific to your cast stone product.
7. Cast stone pointing
This is because while using ordinary everyday mortar is fine in the cast stone construction, it will look ugly if it is visible on the surface of your cast stone. Because cast stone units are often highly visible, the pointing mortar you use has to seamlessly match your cast stone.
It’s why here at Acanthus, we supply a pointing mix that matches the colour and texture of your cast stone. We also supply the mixing instructions to ensure both a solid bond and a perfect, aesthetically pleasing finish.
8. Cutting cast stone
Many products won’t requiring cutting on site as you will have specified size on ordering. For cast stone products that do need cutting you should use a diamond-tipped masonry saw. This should preferably be water-fed. Remove any dust with water as soon as you’ve finished cutting to prevent staining.
Remember that cut faces will have a slightly different appearance to as-supplied cast stone faces.
9. Fixing to cast stone
On the whole, cast stone can be treated the same as natural stone in terms of attaching items like window and doors, lights or name plates. If you need to drill into your cast stone, you should use a diamond-tipped masonry bit, with the drill operating in non-hammer mode. Again, remove dust with water to prevent staining.
Specific Cast Stone Installation Guides
In addition to the general cast stone installation guide above, we also have information specific to cast stone fountains, porticos, window cills, pier caps and copings:
1. Cast Stone Fountain Installation
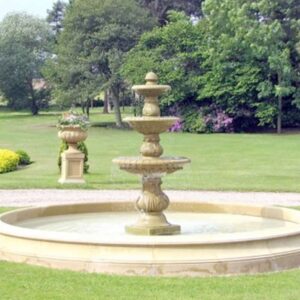
When installing cast stone fountains, provide a good solid concrete base at least 100mm thick.
Set out pool kerbs with 6mm joints and lay on a bed of mortar and with mortar between the vertical joints but rake the vertical joints back out to a depth of 10mm for pointing up with the pointing mix supplied.
The pool surround can be lined with butyl or rendered with waterproof render across the base and up the sides to the lip on the pool kerb.
The pump usually sits in the water and the pipe goes under the base block and up to the bud finial.
Bed all sections on mortar beds (or for speed use epoxy resin and 6mm spacers) and point up with the pointing mix afterwards.
Bed the base block on a bed of mortar and level with a spirit level. Mortar or epoxy resin (with 6mm packers to space the joints) the moulded lower support. Again mortar or epoxy resin the bottom bowl onto the lower support and use packers and a spirit level to ensure that the bowl top is perfectly level.
Again bed the smaller moulded support on mortar or epoxy resin and then fit the top bowl in the same way as the bottom bowl.
Fit the pipe onto the Bud finial and then mortar or epoxy resin the bud finial in place.
Point up all joints and when pointing them up it is best to put masking tape either side of the joints to prevent staining.
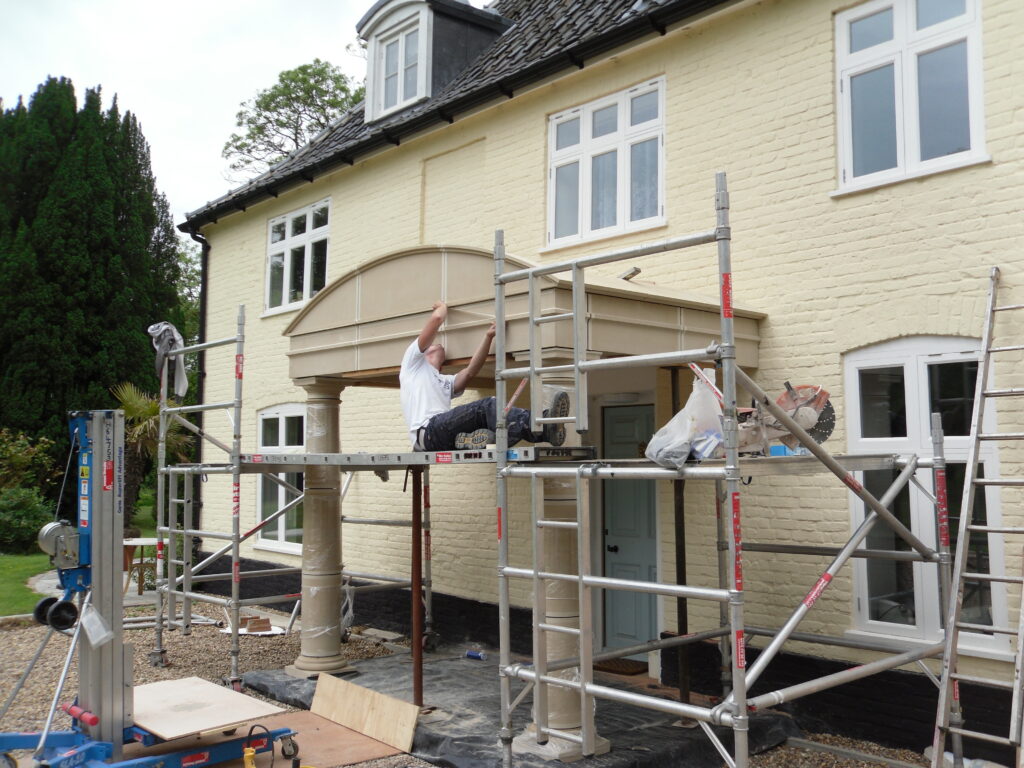
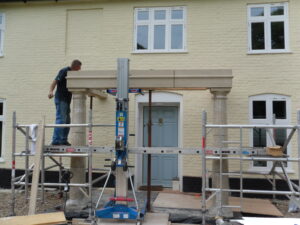
2. Cast Stone Portico Installation
1. Portico with floor:
When installing a cast stone portico with a floor, set out and lay the risers and then either leave the risers to set or carefully fill the void with concrete without disturbing the risers, leaving sufficient gap for a bed of mortar or epoxy resin beneath the floor slabs. Keep any mortar joints raked back a minimum of 10mm to allow for pointing up after construction.
Lay the floor and then cover with polythene for protection, again keeping joints raked back a minimum of 10mm.
Mark out the position of the column bases and carefully cut away the polythene where they will sit.
Drill a 12–15mm hole through the slab and into the concrete where the centre of each column base will sit and then epoxy resin or mortar a length of 10mm rebar into the hole so that it goes down into the concrete and projects out of the floor slab about 250mm. If solid bases are used then drill a couple of holes in the column base and floor slab and epoxy resin the dowels in place.
Bed the column bases on spacers and epoxy-resin and then continue as below.
2. Portico without floor:
Leave a 10mm length of rebar projecting out of the concrete by about 250mm where the centre of each column base will sit.
Bed the column bases and line the perimeter of the hole in the base with an isolating medium such as polystyrene and then fill with weak mix concrete. An isolating medium must be used between the concrete core and the column.
Using spacers to form the correct 6mm joints, continue placing each column section together with epoxy resin and again lining the core with isolating medium and filling with concrete as previously. Put a length of rebar in the centre of the concrete filling to span across the joint sections.
If the columns supplied are of solid section they can be simply epoxy-resined together and drilled and doweled using the cast-in lifting sockets holes as dowels holes if so required. This is generally advised in area’s that experience a high degree of lateral wind loading.
Fix the column capitols and line and fill as above or drill and dowel if solid.
3. Architrave:
Drill and dowel the architrave sections together with 2 holes in the bottom horizontal ends and 2 more in the vertical ends of each section and epoxy-resin the sections together as they are put into place, ensuring that the joints are kept at 6mm. Mark out and dowel and epoxy-resin these to the property wall also.
Support the structure with 200 x 50mm timber and accro props to ensure that the sections are all supported, level and in line.
Drill through the stone above the column centres so that a length of 10mm rebar can be threaded through and bent and turned into the U-shaped reinforcing lugs that are cast into the back face of the L-shaped sections.
Erect shuttering ply to the back of the L-shaped architrave section and seal any gaps with silicone in order to prevent grout loss when casting the ring beam. Seal the back of the joints between the stone sections with epoxy-resin to act as a bond and again to prevent any grout loss when concreting the ring beam.
The channel now formed will be filled with a suitable strong concrete mix to form a ring beam which will bond the whole structure together.
Before doing this drill 2 or 3 holes at the ends of the channel into the existing structure where the concrete ring beam will butt up to It, and epoxy-resin 200mm to 300mm lengths of threaded bar or rebar into these holes and when set, bend these bars so that the concrete ring beam will anchor well to the main building.
Thread suitable lengths of 10mm rebar along and through the U-shaped reinforcing lugs and around the corners to form a reinforcing cage along the channel and tie together. Please note that professional advice must be taken regarding the correct structural support of the architrave sections.
Cast the concrete ring beam finishing it off level with the top of the L-shaped stone section.
Bed the remaining centre layer of stonework using epoxy-resin for the horizontal and vertical joints, maintaining the correct joint spacing on the vertical joints.
Bed the top copings with epoxy-resin and use spacers on the horizontal joints to ensure that the 6mm joints are maintained. As this is the last layer of stone, the joints can be filled from above with the pointing mix supplied.
4. Roof structure:
The usual roof structure is to use suitable timber joists with an 18mm ply top and this being then covered with code 4 lead. The leadwork needs to be fitted by a competent craftsman and needs to have a 150mm upstand and lead flashing into the existing structure.
The underside of the portico roof is usually formed with timber joists and plywood to act as a ceiling so that it can be painted and incorporate lighting if required.
Once the concrete ring beam has fully hardened and cured, the accro props can be carefully removed and the joints can then be pointed up. The time period required before removal of the props depends on several factors such as concrete strength used for the ring beam, portico size, curing temperature etc and professional advice should be taken and should be a minimum of 72 hours after casting of the ring beam and preferably longer.
3. Cast Stone Window Cills Installation
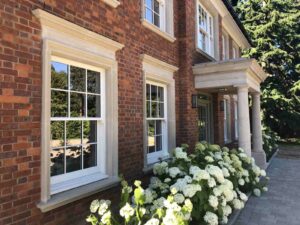
When installing cast stone window cills, only the ends directly beneath the stool should be bedded on mortar. The remaining joint should be left open and pointed only. This will help to avoid cracking due to differential movement. Slip cills and heads should always be fully bedded on mortar. One-piece cills can benefit from a piece of damp-proof course being wrapped around the stooled ends to help prevent cracking due to natural shrinkage.
4. Cast Stone Copings Installation
Cast stone coping stones are laid onto a bed of mortar (usually at 10mm depth), plastic spacers can be placed into the mortar to support the weight of heavy copings while the mortar sets. Mortar is to be used between the stones and we supply colour-matched pointing mix to finish the last 6-10mm. For garden and retaining walls a minimum overhang of 30mm is advised, but for gables and parapet walls the ideal overhang is 50mm on the outside of the wall.
Gables and parapet walls are prone to damp brickwork, to reduce this consideration needs to be made for suitable damp proofing. DPC and cavity trays are required to stop water ingress, your contractor will advise you on the products required. Once-weathered coping stone designs (a single slope in one direction) are ideal for parapet walls as they will take rainwater away from the front of the building and back into the roof space for draining. In certain situations, building inspectors will specify that fixing brackets are used to secure the stones in place, advise should be sought from a structural engineer or fixing specialist.
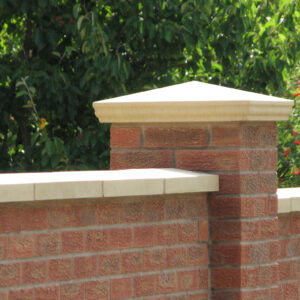
5. Cast Stone Pier Caps Installation
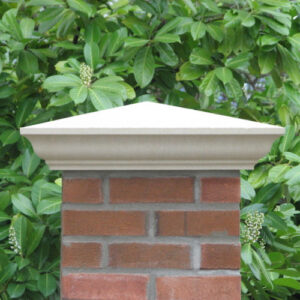
Cast stone pier caps are laid onto a bed of mortar (usually at 10mm depth), plastic spacers are placed into the mortar to support the weight of the cap while the mortar sets.
For large pier caps (3.5 brick and upwards) we cast M12 lifting sockets into the top of the cap for handling purposes (lifting loops not supplied), we include colour matched pointing mix for filling in the sockets after installation. Smaller pier caps can lifted into place with several people but the larger caps will require mechanical lifting (genie lift/hoist etc). Our website and quotations will detail the weights of the caps so you can plan your installation method ahead of delivery.
For pier caps supplied in more than one piece the best method is to resin the pieces together using a chemical anchor/polyester resin (readily available from places like Toolstation and Screwfix).
6. FAQs
Gavin Henshaw, our Technical Manager, answers your frequently asked questions here:
Q: What challenges are most common when installing cast stone on renovation projects?
A: On a renovation project the building’s already in place. A lot of customers think they can just stick our cast stone to the facade of the building to make it look more aesthetically pleasing. With our product it’s not really suitable – you generally have to go down to quite thin units so they’re not too heavy when you’re sticking them on. So we try and steer away from renovation projects unless they are knocking chunks of masonry out that we can fit our stone within.
Q: Why do some cast stone installations develop cracks?
A: It comes down to a lack of knowledge of how buildings interact with the environment. All masonry, all materials, shrink and contract at different rates depending on what the weather’s doing – how hot it is, how cold it is. You need what they call slip planes in between stone, or movement joints within the masonry, to help the building basically move, even though you’re not going to see it visibly with the eye. Buildings do move, and that’s what generally causes a lot of the cracks. The other big one is settlement. A lot of people don’t realise that buildings can settle quite a lot, and that’s another major cause of cracking in stone.
Q: What are the most common technical questions our team receives about cast stone installation?
A: Porticos probably get the most technical questions , we get a lot of questions about how to erect them. Window surrounds are another common one, because the vertical elements normally have some little steel fixings in them and we get asked how those interact with the surrounding masonry. Lifting is another frequent question. When units get beyond a two-man lift we advise that lifting sockets are cast into the stone to aid on-site logistics. Those sockets are normally recessed slightly under the stone so they can be made good afterwards — the pocket is filled with the colour-matched pointing mix that we supply.
Any more questions?
If you have any questions about our guide to cast stone installation, please do not hesitate to contact us by calling 01773 540704 or emailing us at info@acanthuscaststone.co.uk